Appendix C. Setting Up AWS CodeWhisperer
This appendix will show you how to install the CodeWhisperer extension into Visual Studio Code and PyCharm.
Note
At the time of this writing CodeWhisperer is available at no cost "during the preview period." However, Amazon has neither given a timeline for the preview period nor discussed pricing once the preview period has ended.
C.1 Installing the CodeWhisperer Extension into VS Code
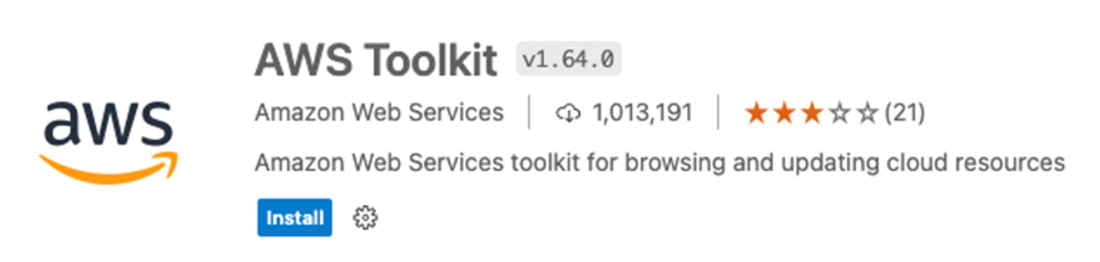
Installing the CodeWhisperer Extension into VS Code is similar to installing the Copilot Extension into VS Code. There is uniformity to this approach, which is the nature of extensions. First, click on the Extension tab, and search for AWS Toolkit. Once you have located the correct extension, click Install.
Figure C.1 The details of the AWS Toolkit with the installation button.
Once installed, click on the AWS tab on the left side of VS Code. Clicking this tab will display the Developer Tools menu. Next, click on the "Select a connection…" option.
Figure C.2 The Developer tools of the AWS Toolkit tab. Note that in addition to the "Select a connection…" option, you will also find an option for CodeWhisperer. Take note.

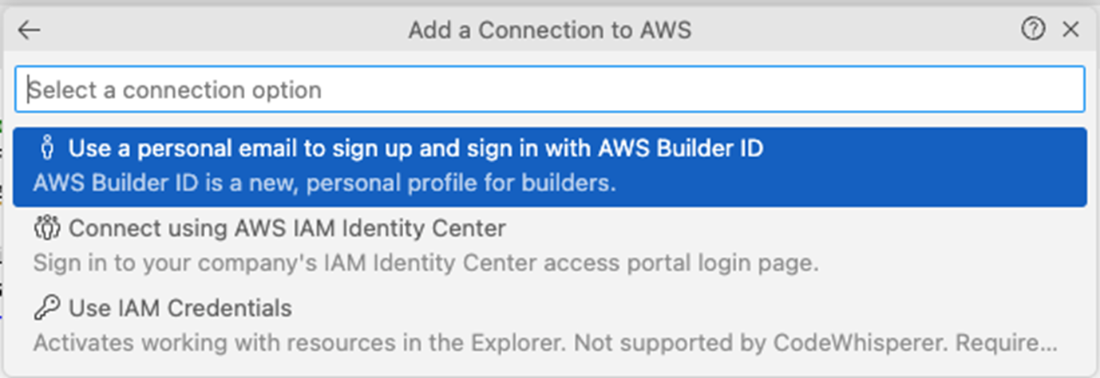
Electing to "Select a connection…" for the first time will cause a dropdown to appear in the center-top of VS Code. Next, select "Use a personal email to sign up and sign in with AWS Builder ID."
Figure C.3 The dropdown to select how you will connect to the AWS CodeWhisperer service.