Appendix B. Running the app on your device
Do you want to see what your app looks like on your iPhone or iPad? Great—you’re definitely in the right place. The first thing to do is open Xcode Preferences and go to the Account tab. Sign in with your Apple ID (use the + button on the bottom left of the window). Once you sign in, Apple will retrieve your associated developer account(s) and display them on the right pane, as shown in figure B.1.
Figure B.1. Adding your account information into the Xcode Preferences > Account panel will show you which development teams are associated to your Apple ID.

If you signed up for a paid developer account, you’ll see that you are an agent for that team; if not, you’ll see that you have a free account. Click the team name for which you are an agent (the paid team) and then click the View Details button to see the list of what you can create apps for, as shown in figure B.2.
Figure B.2. Clicking the View Details button for your paid account will show you the Signing Identities you can create apps for.
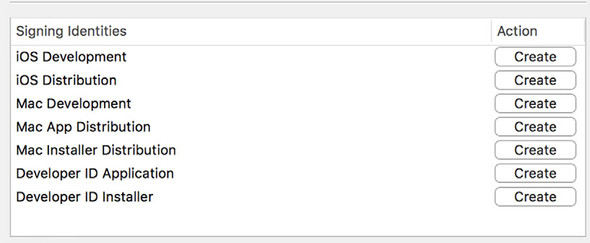
Click the Create button for the iOS Development identity and then click Done. Although you can’t tell, Apple has just done some magic in the background. Close the Preferences window and go back to the main Xcode window now. Open the Project Navigator (the leftmost panel, first button) so your project files are visible. Now click the very first object in that group (for me, it’s the LioN app).