Chapter 12. Adding shields
This chapter covers
- What Arduino shields are
- Using libraries with shields
- Making your own shields
Up to this point, you’ve used shields in several examples, but this chapter will focus on what a shield is, how shields are made, what they’re supposed to do, and how you can make your own. Shields are boards that can be plugged into the Arduino board to extend its capabilities. Making a shield means collecting a discrete set of components for a specific task, like playing back MP3 files or communicating with a GPS device, and then fitting the components to the form factor of the Arduino device and adding pins so that they can be easily snapped into place or removed without soldering.
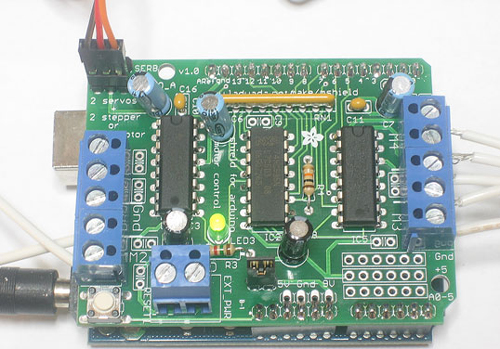
Almost of all of the Arduino shields follow the same philosophy as the original toolkit: they are easy to mount and friendly to work with. Figure 12.1 shows a motor shield developed by Adafruit that allows you to easily control up to two servomotors, four DC motors, or two stepper motors.
Figure 12.1. The Adafruit motor shield—the first motor shield we will be using in this chapter. Image from http://www.adafruit.com/products/81.