2 Hands-on: My first Actions workflow
This chapter covers
- Creating a new workflow
- Using the workflow editor
- Using actions from the marketplace
- Running the workflow
Before we dive into the details of the workflow and YAML syntax in chapter 3, it’s a good idea to familiarize ourselves with the workflow editor, gain some practical experience creating a workflow, and test it out to see it in action. This hands-on approach will help us better understand the concepts and give us the ability to quickly try something out, if it is unclear. Don’t worry if there are parts of the workflow syntax that you don’t understand yet—we’ll be covering those in detail in the upcoming chapters.
2.1 Creating a new workflow
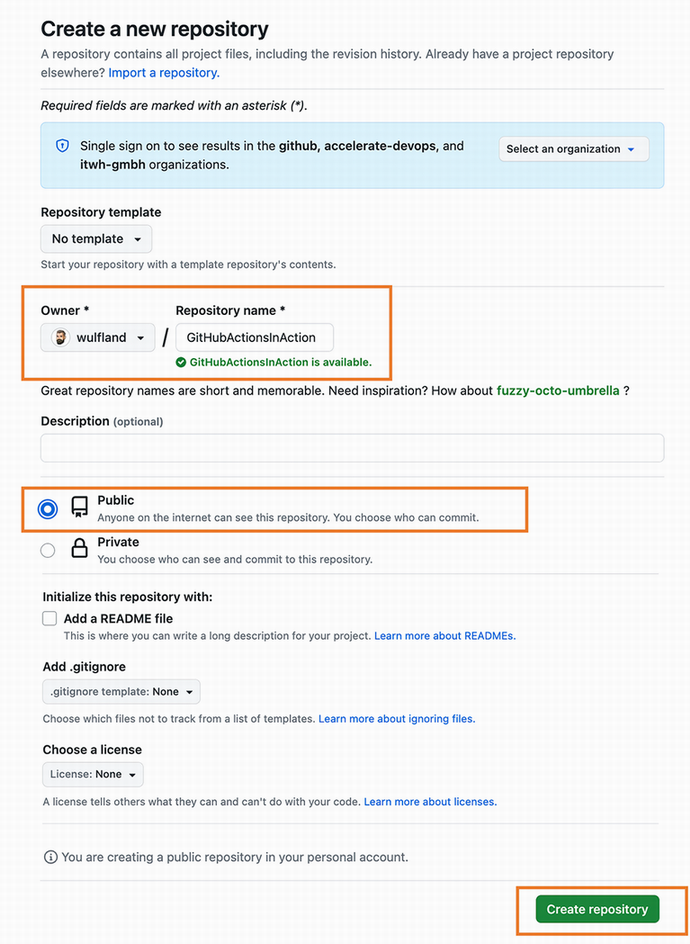
Begin this hands-on lab by signing into your GitHub account. Then, visit https://github.com/new to create a new repository. To ensure you have unlimited Action minutes, create a new public repository in your user profile and name it ActionsInAction. Initialize the repository with a readme so that you can retrieve the files in the workflow later on. Finally, click on the Create Repository button to complete the process (refer to figure 2.1).
Figure 2.1 Creating a new repository