chapter six
Chapter 6. Output: making things move
This chapter covers
- How motors work and what makes them spin
- The inductive characteristics of motors and how to safely construct motor circuits
- Using diodes, capacitors, and transistors in circuits to control motors and protect components
- How to position things, precisely, with servos
- How to control motors using an H-bridge circuit and motor drivers
- How to build your first basic, roving robot
By now you’re likely tapping your feet impatiently and wondering, “When do we get to make robots?” Well, your ship has come in. It’s time to learn how to make things move.
The motors and servos you’re about to get to know provide the fundamental control of robots’ movements. There’s lots to learn, but by the end of this chapter you’ll have built a basic roving bot.
Making robots move involves choreographing electronically controlled movement. Motors spin, making wheels roll. Servos allow precise positioning of components: cameras, robotic arms, and so on. Let’s get moving.
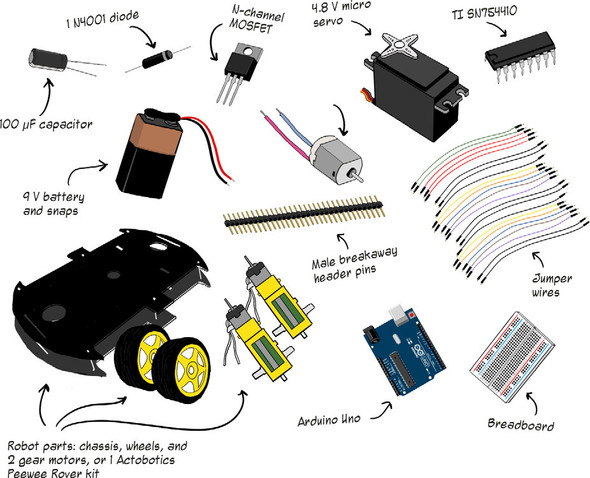
For this chapter, you’ll need the following:
- Arduino Uno and USB cable
- 1 9 V DC motor
- 1 9 V battery and snaps
- 1 1N4001 diode
- 1 N-channel MOSFET, such as FQP30N06L
- 1 100 μF capacitor
- 1 4.8 V micro servo
- 1 Texas Instruments SN754410 Quadruple Half-H Driver
- Actobotics Peewee Runt Rover kit (or 2 gearmotors, 2 wheels, chassis)
- Breakaway male header pins
- Jumper wires
- 1 half-size breadboard