Chapter 12. Deploying Windows
Configuring ConfigMgr to deploy Windows is certainly one of the harder tasks to perform. A successful deployment relies on a lot of moving parts working together properly, and many of them, such as device drivers, networks, server infrastructure, and physical systems, are independent of ConfigMgr itself.
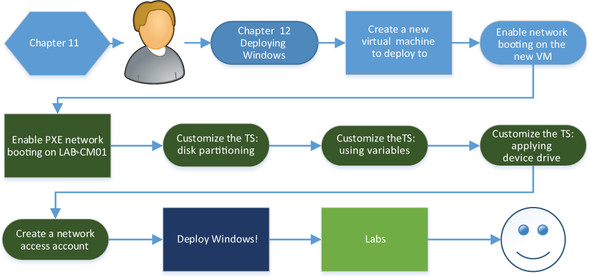
The work you’ve done in chapter 11 has prepared the lab environment for a Windows deployment, and as you can see in figure 12.1, by end of this chapter that’s exactly what you’ll have achieved.
The first step is to create a new virtual machine to which you’ll deploy Windows. This isn’t a prerequisite in a normal production environment, but the new virtual machine will provide a fresh platform on which to deploy Windows in your lab. The specs on this virtual machine should be exactly the same as those for CLIENT01, but call this new VM CLIENT02. Follow the same process you used to create the VMs in chapter 2.
Tip
If your virtualization host doesn’t have enough physical resources, such as RAM, to run all the VMs, you can turn off CLIENT01 because you don’t need it for this chapter.
CLIENT02 will be slightly different from the other lab VMs; because you’re going to deploy Windows by booting the client from the network, the virtual adapter attached to the VM must support network boot.