Appendix B. Configuring Liferay Portal with MySQL database
Liferay Portal comes with an embedded HSQLDB database, which isn’t meant to be used in production. Liferay Portal provides support for many production-ready databases that you can configure easily. In this appendix, we’ll look at how to configure Liferay Portal to use the MySQL database. If you want to use another database with Liferay Portal, refer to the Liferay Portal documentation.
Before you get started configuring MySQL with Liferay Portal, you need to install the following software on your machine:
- MySQL database server— Download the Community Edition of the database from http://dev.mysql.com/downloads/.
- HeidiSQL client for MySQL— The screenshots in this appendix use the HeidiSQL client, but you can use any other MySQL client to go through the tables described in this appendix. You can download the HeidiSQL client for free from http://www.heidisql.com/.
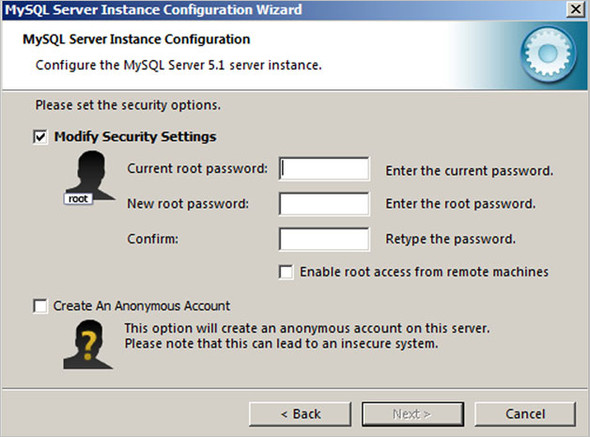
The first step toward integrating Liferay Portal with MySQL is to install the MySQL database server on your local machine. The most important step in the installation process is configuring the MySQL Server instance. This is where you specify the password for the root user, as shown in Figure B.1.