A Installing Strange
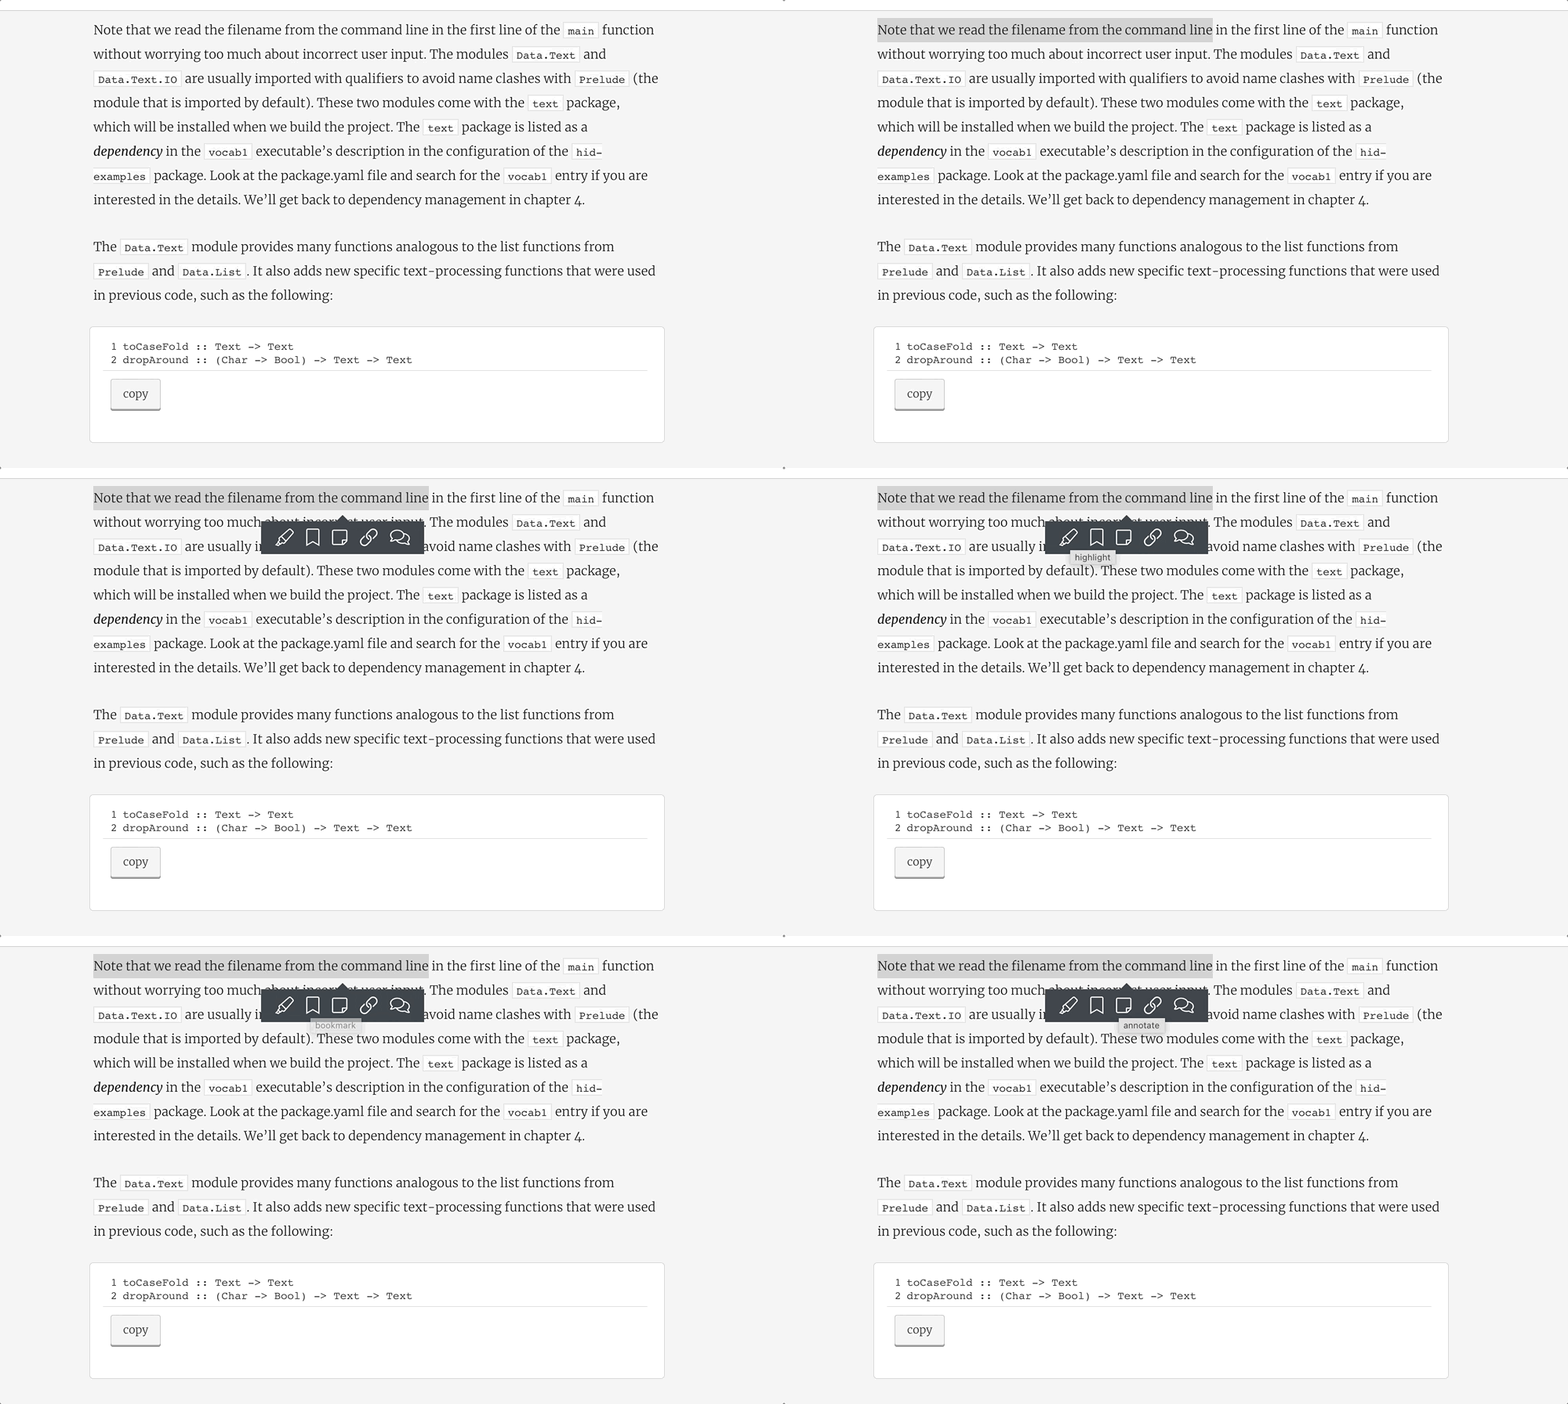
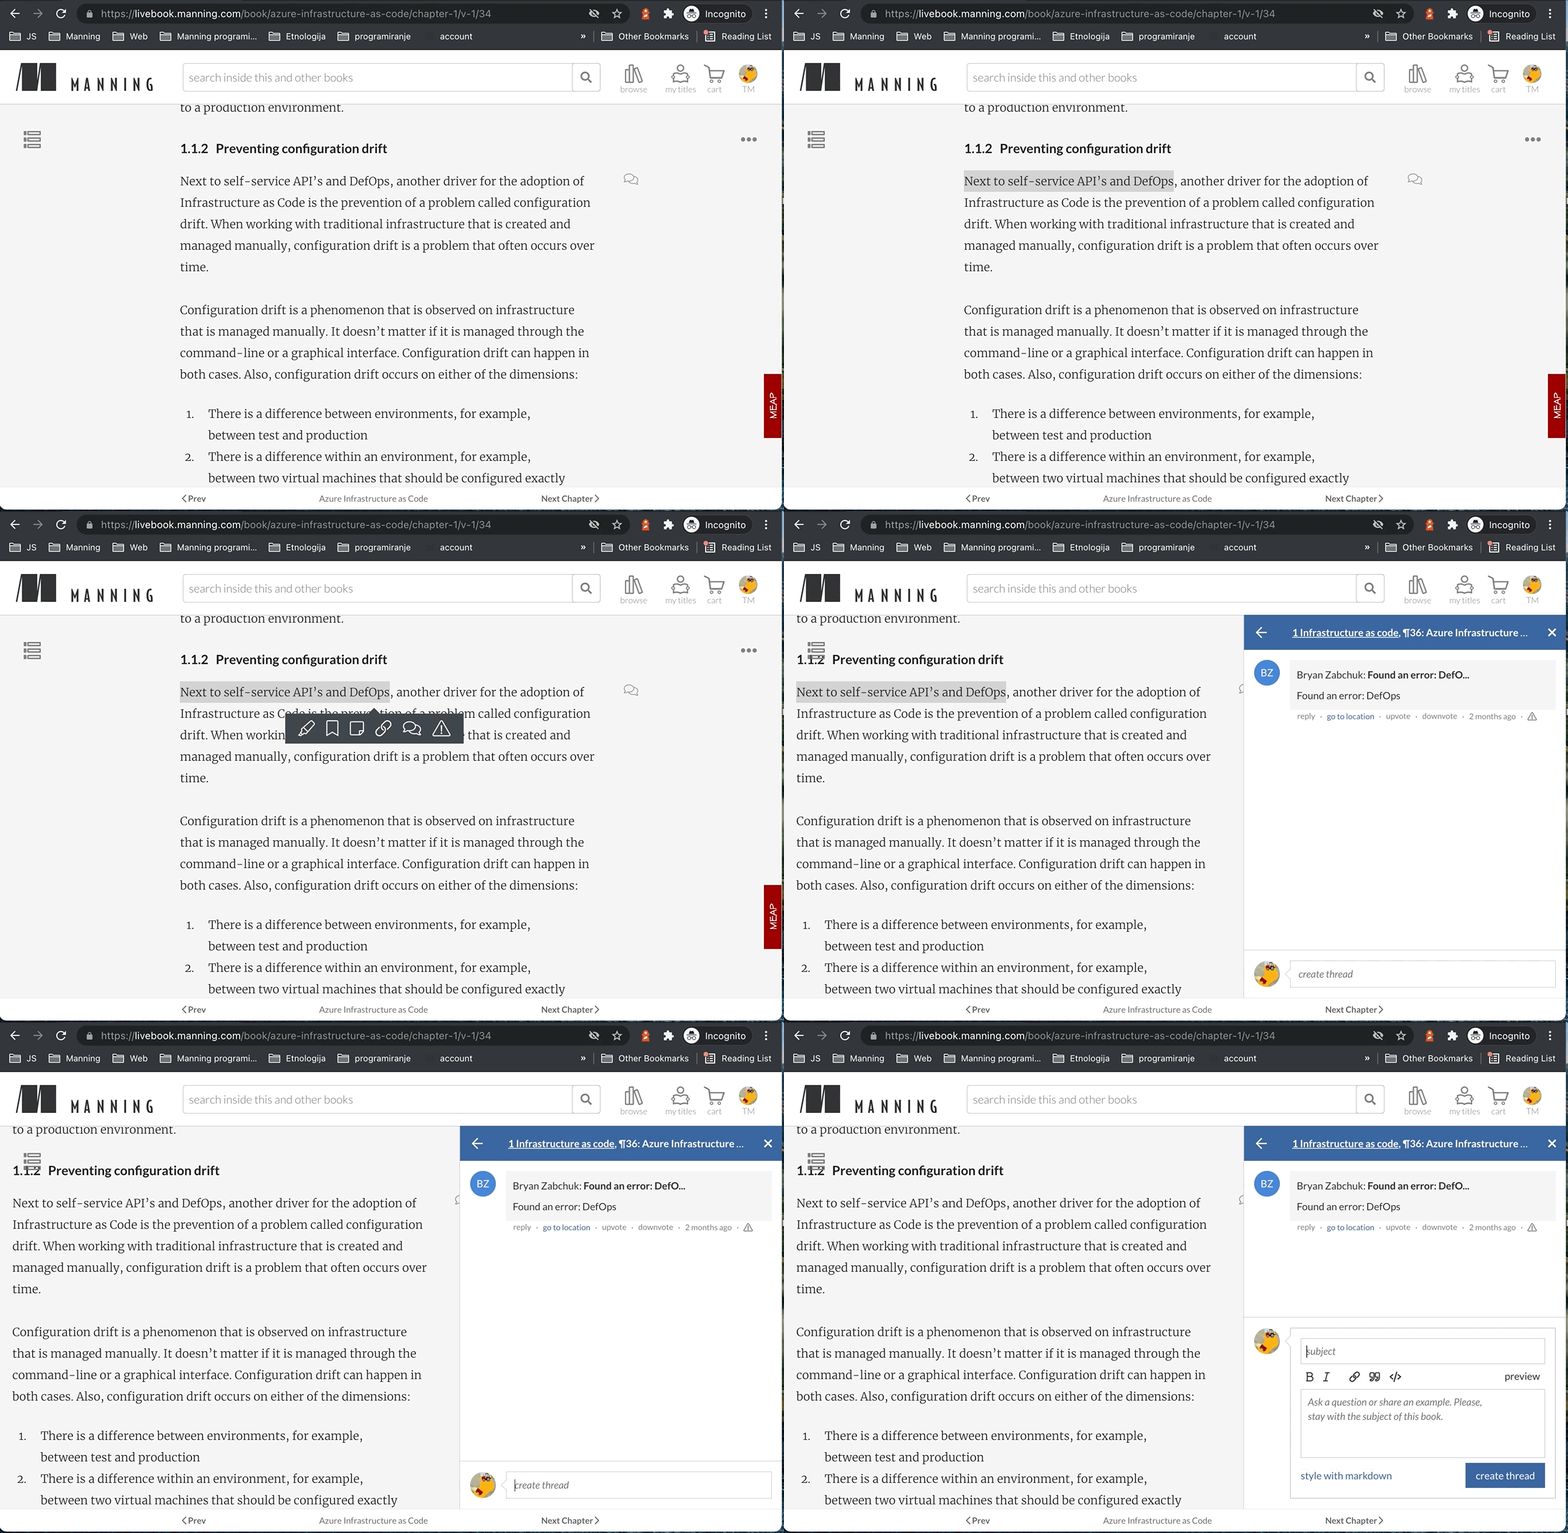
highlight, annotate, and bookmark
You can automatically highlight by performing the text selection while keeping the alt/ key pressed.

Strange is a modular Java library, leveraging the module concepts introduced in Java 11. In order to run applications using Strange, the Java 11 runtime is needed. Developing applications requires the Java 11 SDK to be installed, which also includes the Java 11 runtime. The Java 11 SDK can be downloaded from jdk.java.net/11. Make sure to download the version that matches your platform.
Most Java developers use an integrated development environment (IDE) to create Java applications. The most common IDE’s for Java development are Eclipse (https://www.eclipse.org/ide), Apache NetBeans (https://www.eclipse.org/ide) and IntelliJ IDEA (https://www.jetbrains.com/idea). Since Strange is a modular Java library following the same rules and conventions as any other Java library, it can be used out of the box on those IDE’s, since they provide support for the Java modular system.
Apart from IDE’s, some developers prefer to use command-line tools to create, maintain and execute applications. Those applications typically use a build tool like maven or gradle, and dependencies are declared in specific files, e.g. a pom.xml file for maven or a build.gradle file for gradle.
All IDE’s provide support for maven and gradle. We assume the reader is familiar with how his/her IDE supports gradle. This allows us to use command-line driven gradle projects for our examples. Developers have the choice to either run the examples using the command-line approach, or run the examples in their favourite IDE leveraging the IDE-specific gradle integration.
discuss

The samples and demoes in this book are available in a git repository located at You can get a local copy of the samples by cloning the repository via command-line git commands, e.g.
git clone https://github.com/johanvos/quantumjava.git
or via the git support offered by your favourite IDE.
Cloning the repository creates a directory called quantumjava on your local filesystem. You will notice this directory contains a number of subdirectories that correspond to the chapters of this book. For example, the samples for Chapter 2 are located in the ch02 directory.
settings

The ch02 directory contains the samples used in this chapter. The first sample we will run in the hellostrange sample. Like all other samples, this sample can be opened in your favourite IDE. As discussed before, we will use the gradle command line approach in this book. However, if you prefer to run the samples from your IDE, that should work equally wel.
All samples contain wrapper scripts that will first check if the correct gradle version is already installed on the system. If this is not the case, the wrapper script will automatically download and install the required version of gradle.
If you are using Linux or MacOS X, the gradle wrapper script is invoked using
./gradlew
If you are using Windows, the gradle wrapper script should be invoked via
gradlew.bat
Running the hellostrange demo application is very straightforward by supplying the run task to gradle. On Linux and MacOS X, this is done by calling
./gradlew run
and on windows, this is achieved using
gradlew.bat run
The result of this action depends on whether you already have the required gradle version or not.