appendix-a
Appendix A. Setting up Dask on a Remote Cluster
In this appendix, we will cover how to setup using Dask on Coiled. As a reminder, Coiled is a service that lets you run remote Dask clusters. It does generally come with a cost, but there is a free-tier version available if you want to try it out. The process of running Dask on a remote cluster should be fairly similar regardless of what service/platform you use. For our purposes here, we will walk through how to setup Coiled and AWS.
Step 1) Creating a Coiled account
- First, you will need an account with Coiled. Coiled offers a limited free tier, but if you can also use it for enterprise production cases. To get started, you first need to sign-up for a Coiled account at this link: https://cloud.coiled.io/signup.
Step 2) Creating an IAM user
In order to integrate Coiled with AWS, you need to create an IAM user in your AWS account. An IAM user is an entity that can interact with and make requests to AWS services. To create an IAM user, follow these steps:
- Go to https://console.aws.amazon.com/iam/ (assuming you’re already logged into your AWS account)
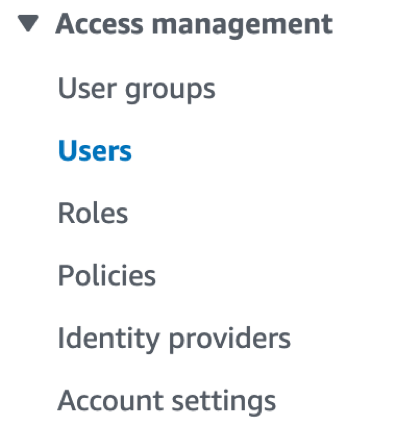
- Under Access Management, click on users (see Figure A.1).
Figure A.1 From the AWS console page, you should see a link like this to navigate to the Users page.
- Next, click Add users (see Figure A.2)
Figure A.2 After navigating to the Users page, you should be able to click this button to add a new IAM user.