Appendix B. Gephi visualization software
Chapter 4 contains code to generate .gexf files, the native file format of Gephi. Downloading and installing Gephi from http://gephi.github.io is straightforward (it’s available for OS X, Windows, and Linux), but its user interface can be intimidating at first. This appendix points you to the most important UI elements—enough to get you started—and you can then explore the remaining rich set of features on your own.
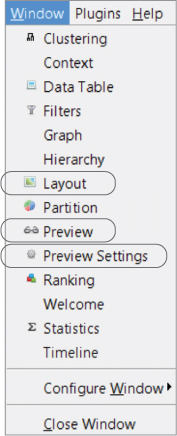
Gephi has dockable windows, much like an IDE. Figure B.1 is how we used Gephi when generating some of the diagrams in this book. The three dockable windows to choose from the Window drop-down menu are shown in figure B.2. Once they’re displayed, drag and drop them to the arrangement shown in figure B.1.
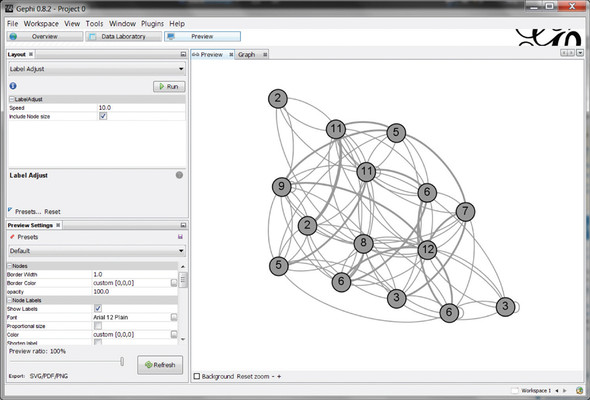
You’ll notice the Graph tab, which, given its position and name, seems like an important tab, but it’s for doing processing on the graph. Because we’re typically doing graph processing in GraphX and are interested in Gephi for its visualization capability, you should ignore the Graph tab at first.
Here’s the basic loop of steps you’ll typically do to visualize:
1. Adjust something in the Layout or Preview Settings window.
2. Click the Refresh button in the Preview Settings window.