Appendix B. Working with the book’s projects
In this appendix, I will explain how to work with the book’s projects and how you can create your own projects from scratch to follow along with explanations in the book.
In this book, I use the IntelliJ IDEA IDE, but you can use any modern IDE. Today, any IDE can open and create Maven or Gradle projects. For example, if you prefer Eclipse IDE, feel free to use it. Choose the IDE you are most comfortable with, so you can focus more easily on the technical topics we discuss.
In the examples in this book, I use Maven as the build tool. But if you are more comfortable with Gradle, you can use Gradle for the projects you create.
Figure B.1 shows you the GUI for IntelliJ IDEA. To open an existing project, use the Open button and select a project folder. Use the New Project button to create a new project of your own.
Figure B.1 Create a new project using New Project or open an existing project using Open in the IntelliJ IDEA welcome screen.

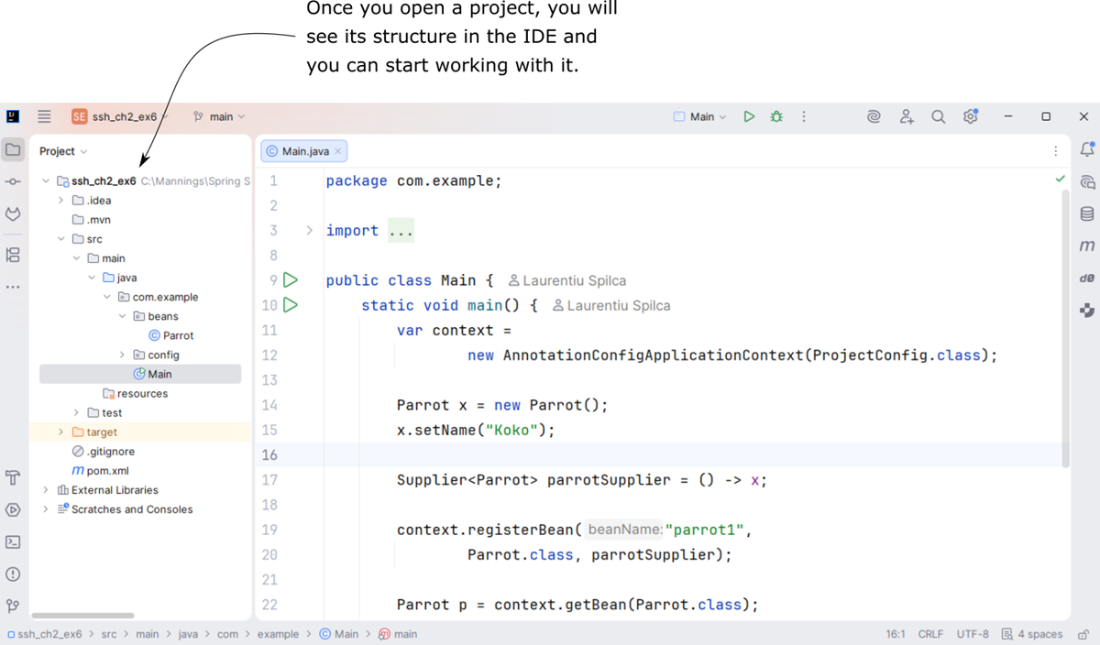
After you open a project, you will see the project structure on the left side. Then you can start working on the project. Figure B.2 shows the IntelliJ IDEA interface with one of the book’s projects open.
Figure B.2 After you open a project, IntelliJ IDEA shows the project structure on the left and the project files in the main editor area, so you can start working on the code.