appendix B Opening a project
This appendix lists the steps for opening and running an existing project. The projects provided with the book are Java apps that use Java 17. We use these projects to demonstrate the use of several techniques and tools.
First, you need to have an IDE such as IntelliJ IDEA, Eclipse, or Apache Netbeans installed. For the examples, I used IntelliJ IDEA: https://www.jetbrains.com/idea/download/.
To run the projects provided with the book, you need to install JDK version 17 or higher. You can use any Java distribution. I use the OpenJDK distribution: https://jdk.java.net/17/.
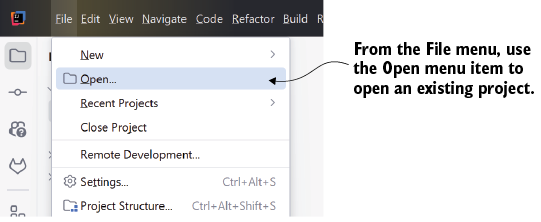
Figure B.1 shows how to open an existing project in IntelliJ IDEA. To select the project you want to open, choose File > Open.
Figure B.1 To open an existing project in IntelliJ IDEA, select Open in the File menu.
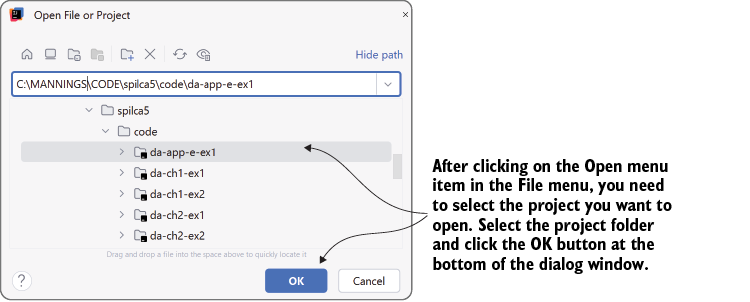
Click File > Open, and a pop-up window appears. Select the project you want to open. Figure B.2 shows this pop-up window.
Figure B.2 After selecting Open in the File menu, a pop-up window appears. In this window, select the project you want to open from the file system and click the OK button.
To run the application, right-click the class containing the main() method. For the projects provided with the book, the main() method is defined in a class named Main. Right-click this class, as presented in figure B.3, and select Run.
If you want to run the app with a debugger, right-click the Main class > Debug.