concept filter in category machine learning
This is an excerpt from Manning's book Machine Learning with TensorFlow, Second Edition.
In this section, you’ll convolve an image with a couple of random 5 × 5 patches, also called filters. This is an important step in a convolutional neural network, so you’ll carefully examine how the data transforms. To understand a CNN model for image processing, it’s wise to observe the way an image filter transforms an image. Filters are a way to extract useful image features such as edges and shapes. You can train a machine-learning model on these features.
Remember: a feature vector indicates how you represent a data point. When you apply a filter to an image, the corresponding point in the transformed image is a feature—a feature that says, “When you apply this filter to this point, it now has this new value.” The more filters you use on an image, the greater the dimensionality of the feature vector. Remember the overall goal here is to balance the number of filters that reduce the dimensionality while still capturing the important features in the original image.
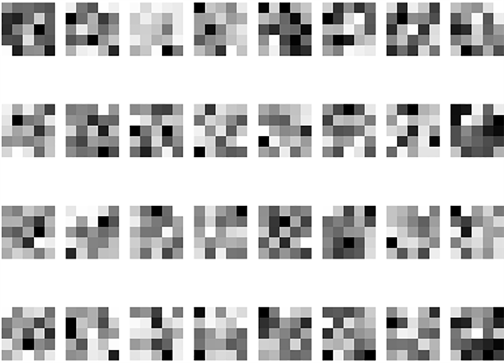
Open a new file called conv_visuals.py. Let’s randomly initialize 32 filters. You’ll do so by defining a variable called W of size 5 × 5 × 1 × 32. The first two dimensions correspond to the filter size. The last dimension corresponds to the 32 convolutions. The 1 in the variable’s size corresponds to the input dimension, because the conv2d function is capable of convolving images of multiple channels. (In our example, you care about only grayscale images, so the number of input channels is 1.) The following listing provides the code to generate filters, which are shown in figure 14.4.
Listing 14.6 Generating and visualizing random filters
W = tf.Variable(tf.random_normal([5, 5, 1, 32]))  #A

def show_weights(W, filename=None):
    plt.figure()
    rows, cols = 4, 8                       #B
    for i in range(np.shape(W)[3]):         #C
        img = W[:, :, 0, i]
        plt.subplot(rows, cols, i + 1)
        plt.imshow(img, cmap='Greys_r', interpolation='none')
        plt.axis('off')
    if filename:
        plt.savefig(filename)
    else:
        plt.show()
Figure 14.4 These are 32 randomly initialized matrices, each of size 5 × 5. They represent the filters you’ll use to convolve an input image.

This is an excerpt from Manning's book Machine Learning with TensorFlow.
In this section, you’ll convolve an image with a couple of random 5 × 5 patches, also called filters. This is an important step in a convolutional neural network, so you’ll carefully examine how the data transforms. To understand a CNN model for image processing, it’s wise to observe the way an image filter transforms an image. Filters are a way to extract useful image features such as edges and shapes. You can train a machine-learning model on these features.
Remember: a feature vector indicates how you represent a data point. When you apply a filter to an image, the corresponding point in the transformed image is a feature—a feature that says, “When you apply this filter to this point, it now has this new value.” The more filters you use on an image, the greater the dimensionality of the feature vector.
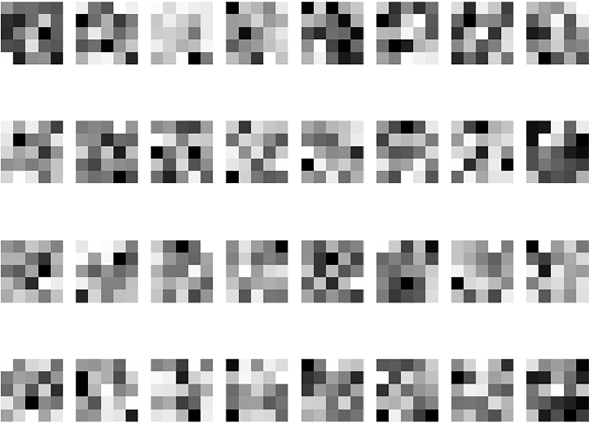
Open a new file called conv_visuals.py. Let’s randomly initialize 32 filters. You’ll do so by defining a variable called W of size 5 × 5 × 1 × 32. The first two dimensions correspond to the filter size. The last dimension corresponds to the 32 convolutions. The 1 in the variable’s size corresponds to the input dimension, because the conv2d function is capable of convolving images of multiple channels. (In our example, you care about only grayscale images, so the number of input channels is 1.) The following listing provides the code to generate filters, which are shown in figure 9.4.
The previous section prepared filters to use. In this section, you’ll use TensorFlow’s convolve function on your randomly generated filters. The following listing sets up code to visualize the convolution outputs. You’ll use it later, just as you used show_ weights.