It is well known that high code quality leads to cheaper maintenance, fewer errors, and happier developers. The most common way to get high code quality is through refactoring. However, the way refactoring is usually taught—with code smells and unit testing—imposes an unnecessarily high barrier to entry. I believe that anyone can execute simple refactoring patterns safely with a little practice.
In software development, we place problems somewhere on the diagram shown in figure 1.1, indicating a lack of sufficient skills, culture, tools, or a combination of those. Refactoring is a sophisticated endeavor and therefore lies right in the middle. It requires each component:
- Skills—We need the skills to know what code is bad and needs refactoring. Experienced programmers can determine this through their knowledge of code smells. But the boundaries of code smells are blurry (requiring judgment and experience) or open to interpretation and therefore not easy to learn; and to a junior developer, understanding code smells can seem more like a sixth sense than a skill.
- Culture—We need a culture and workflow that encourage taking the time to perform refactoring. In many cases, this culture is implemented through the famous red-green-refactor loop used in test-driven development. However, test-driven development is a much more difficult craft, in my opinion. Red-green-refactor also does not easily give way to doing refactoring in a legacy codebase.
- Tools—We need something to help ensure that what we are doing is safe. The most common way to achieve this is through automated testing. But as already mentioned, learning to do effective automated testing is difficult in itself.

The following sections dive into each of these areas and describe how we can begin our refactoring journey from a much simpler foundation without testing and abstract code smells. Learning refactoring this way can quickly catapult junior developers’, students’, and programming enthusiasts’ code quality to the next level. Tech leads can also use the methods in this book as a basis for introducing refactoring in teams that are not routinely doing it.
highlight, annotate, and bookmark
You can automatically highlight by performing the text selection while keeping the alt/ key pressed.
I answer the question “What is refactoring?” in a lot more detail in the next chapter, but it is helpful to get an intuition for it up front before we dive into the different hows of refactoring. In its simplest form, refactoring means “changing code without changing what it does.” Let’s start with an example of refactoring to make it clear what I’m talking about. Here, we replace an expression with a local variable.
return pow(base, exp / 2) * pow(base, exp / 2); |
let result = pow(base, exp / 2); return result * result; |
- Making code faster (as in the previous example)
- Making code smaller
- Making code more general or reusable
- Making code easier to read or maintain
As refactoring mustn’t change what the code is doing, in this book we focus on human-readable and easy to maintain. We discuss these reasons to refactor in more detail in chapter 2. In this book, we only consider refactoring that results in good code; therefore, the definition we use is as follows.
I should also mention that the type of refactoring we consider relies heavily on working with an object-oriented programming language.
Many people think of programming as writing code; however, most programmers spend more time reading and trying to understand code than writing it. This is because we work in a complex domain, and changing something without understanding it can cause catastrophic failures.
So, the first argument for refactoring is purely economic: programmers’ time is expensive, so if we make our codebase more readable, we free up time for implementing new features. The second argument is that making our code more maintainable means fewer, easier-to-fix bugs. Third, a good codebase is simply more fun. When we read code, we build a model in our heads of what the code is doing; the more we have to keep in our head at one time, the more exhausting it is. This is why it is much more fun to start from scratch—and why debugging can be dreadful.
discuss
Knowing what you should refactor is the first barrier to entry. Usually, refactoring is taught alongside something called code smells. These “smells” are descriptions of things that might suggest our code is bad. While they are powerful, they are also abstract and difficult to get started with, and it takes time to develop a feel for them.
This book takes a different approach and presents easily recognizable, applicable rules to determine what to refactor. These rules are easy to use and quick to learn. They are also sometimes too strict and require you to fix code that is not smelly. On rare occasions, we might follow the rules and still have smelly code.
As figure 1.2 illustrates, the overlap between smells and rules is not perfect. My rules are not the be-all and end-all of good code. They are a head start on the road to developing a guru-like feeling for what good code is. Let’s look at an example of the difference between a code smell and the rules in this book.

A well-known code smell is as follows: a function should do one thing. This is a great guideline, but it is not easy to know what the one thing is. Look again at the earlier code: is it smelly? Arguably, it divides, exponentiates, and then multiplies. Does that mean it does three things? On the other hand, it only returns one number and doesn’t change any state, so is it doing only one thing?
let result = pow(base, exp / 2);
return result * result;
Compare the preceding code smell to the following rule (covered in detail in chapter 3): a method should never have more than Five Lines of Code. We can determine this at a glance, with no further questions to ask. The rule is clear, concise, and easy to remember—especially since it is also the title of this book.
Remember, the rules presented in this book are like training wheels. As discussed earlier, they cannot guarantee good code in every situation; and on some occasions, it might be wrong to follow them. However, they are useful if you don’t know where to start, and they motivate nice code refactoring.
Note that all the names of the rules are stated in absolute terms, using words like never, so they are easy to remember. But the detailed descriptions often specify exceptions: when not to apply the rules. The descriptions also state the rules’ intentions. At the beginning of learning refactoring, we only need to use the absolute names; when those are internalized, we can start learning the exceptions as well, after which we can begin to use the intentions—then we’ll be coding gurus.
settings
Refactoring works best—and costs least—if you do it regularly. So if you can, I recommend that you incorporate it into your daily work. Most of the literature suggests a red-green-refactor workflow; but as mentioned earlier, this approach ties refactoring to test-driven development—and in this book, we want to separate them and focus specifically on the refactoring part. Therefore, I recommend a more general six-step workflow to solve any programming task, as shown in figure 1.3:
- Explore. Often, we are not completely sure what we need to build right from the start. Sometimes the customer does not know what they want us to build; other times, the requirements are written in ambiguous prose; sometimes we do not even know if the task can be solved. So, always start by experimenting. Implement something quickly, and then you can validate with the customer that you agree on what they need.
- Specify. Once you know what you need to build, make it explicit. Optimally, this results in some form of automated test.
- Implement. Implement the code.
- Test. Make sure the code passes the specification from step 2.
- Refactor. Before delivering the code, make sure it is easy for the next person to work with (and that next person might be you).
- Deliver. There are many ways to deliver; the most common are through a pull request or by pushing to a specific branch. The most important thing is that your code gets to the users. Otherwise, what’s the point?

Because we are doing rule-based refactoring, the workflow is straightforward and easy to get started with. Figure 1.4 zooms in on step 5: refactor.

I have designed the rules so they are easy to remember and so that it’s easy to spot when to use them without any assistance. This means finding a method that breaks a rule is usually trivial. Every rule also has a few refactoring patterns linked with it, making it easy to know exactly how to fix a problem. The refactoring patterns have explicit step-by-step instructions to ensure that you do not accidentally break something. Many of the refactoring patterns in this book intentionally use compile errors to help make sure you don’t introduce errors. Once we’ve practiced a little, both the rules and the refactoring patterns will become second nature.
Even if we are starting from a large legacy system, there is a clever way to incorporate refactoring into our daily work without having to stop everything and refactor the whole codebase first. Simply following this awesome quote:
Whenever we are about to implement something new, we start by refactoring, so it is easy to add our new code. This is similar to getting all the ingredients ready before you start baking.
Mostly, refactoring is awesome, but it has a few downsides. Refactoring can be time consuming, especially if you don’t do it regularly. And as mentioned earlier, programmer time is expensive.
- Code you are going to write, run only once, and then delete. This is what is known as a spike in the Extreme Programming community.
- Code that is in maintenance mode before it is going to be retired.
- Code with strict performance requirements, such as an embedded system or a high-end physics engine in a game.
highlight, annotate, and bookmark
You can automatically highlight by performing the text selection while keeping the alt/ key pressed.
I like automated tests as much as anybody. However, learning how to test software effectively is a complicated skill in itself. So if you already know how to do automated testing, feel free to use it throughout this book. If you don’t, don’t worry.
We can think about testing this way: automated testing is to software development what brakes are to cars. Cars don’t have brakes because we want to go slowly—they have brakes so we feel safe going fast. The same is true for software: automated tests make us feel safe going fast. In this book, we are learning a completely new skill, so we don’t need to go fast.
- Detailed, step-by-step, structured refactoring patterns akin to recipes
- Version control
- The compiler
I believe that if the refactoring patterns are carefully designed and performed in tiny steps, it is possible to refactor without breaking anything. This is especially true in cases where our IDE can perform the refactoring for us.
To remedy the fact that we don’t talk about testing in this book, we use the compiler and types to catch a lot of the common mistakes we might make. Even so, I recommend that you regularly open the application you are working on and check that it is not completely broken. Whenever we have verified this, or when we know the compiler is happy, we make a commit so that if at some point the application is broken and we don’t know how to immediately fix it, we can easily jump back to the last time it was working.
If we are working on a real-world system without automated tests, we can still perform refactoring, but we need to get our confidence from somewhere. Confidence can come from using an IDE to perform the refactoring; testing manually; taking truly tiny steps; or something else. However, the extra time we would spend on these activities probably makes it more cost effective to do automated testing.
discuss
As I said earlier, the types of refactoring discussed in this book need an object-oriented language. That is the primary thing you need in order to read and understand this book. Coding and refactoring are both crafts that we perform with our fingers. Therefore, they are best learned through the fingers by following along with the examples, experimenting, and having fun while your hands learn the routines. To follow along with the book, you need the tools described next. For installation instructions, see the appendix.
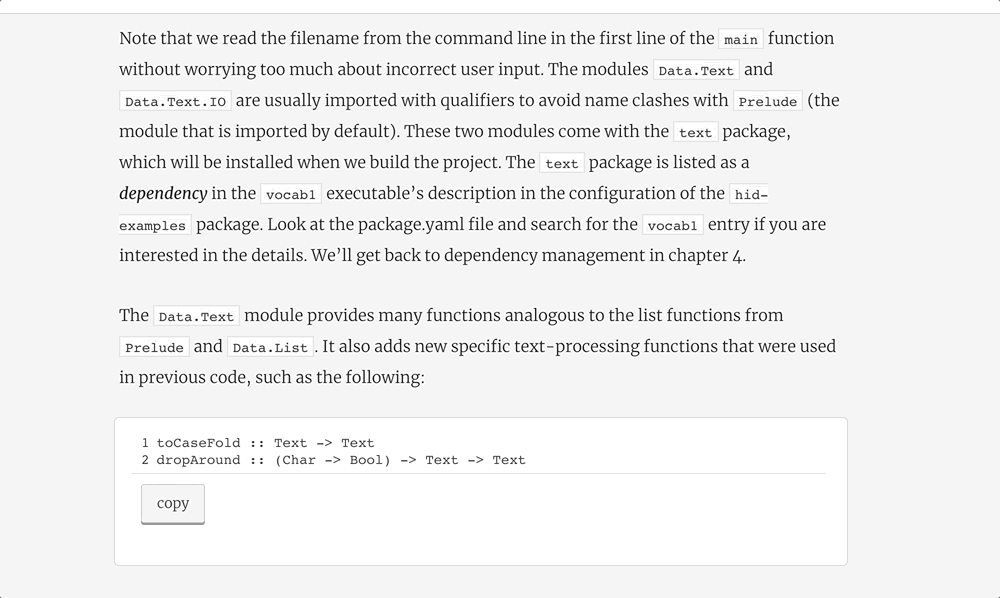
All the coding examples presented in this book are written in TypeScript. I chose TypeScript for multiple reasons. Most important, it looks and feels similar to the most commonly used programming languages—Java, C#, C++, and JavaScript—and thus, people familiar with any of those languages should be able to read TypeScript without any problem. TypeScript also provides a way to go from completely “un-object-oriented” code (that is, code without a single class) to highly object-oriented code.
To better utilize space in the printed book, this book uses a programming style that avoids line breaks while still being readable. I’m not advocating that you use the same style—unless you are coincidentally also writing a book containing lots of TypeScript code. This is also why indentation and braces are sometimes formatted differently in the book than in the project code.
If you are unfamiliar with TypeScript, I’ll explain any gotchas as they appear, in boxes like the following.
Even though the examples are in TypeScript, all refactoring patterns and rules are general and apply to any object-oriented language. In rare cases, TypeScript helps or hinders us; these cases are explicitly stated, and we discuss how to handle these situations in other common languages.
I do not assume that you are using a specific editor; however, if you don’t have a preference, I recommend Visual Studio Code. It works well with TypeScript. Also, it supports running tsc -w in a background terminal that does the compiling so we don’t forget to do it.
Although you are not required to use version control to follow along with this book, I strongly recommend it, as it makes it much easier to undo something if you get lost in the middle.
settings
Take our tour and find out more about liveBook's features:
- Search - full text search of all our books
- Discussions - ask questions and interact with other readers in the discussion forum.
- Highlight, annotate, or bookmark.
Finally, let’s discuss how I am going to teach all these wonderful rules and amazing refactoring patterns. The book is built around a single overarching example: a 2D block-pushing puzzle game, similar to the classic game Boulder Dash (figure 1.5).

This means we have one substantial codebase to play with throughout part 1 of the book. Having one example saves time because we don’t have to become familiar with a new example in every chapter.
The example is written in a realistic style, similar to what is used in the industry. It is by no means an easy exercise unless you have the skills learned in this book. The code already adheres to the DRY (Don’t Repeat Yourself) KISS (Keep It Simple, Stupid) principles; even so, it is no more pleasant than a dry kiss.
I chose a computer game because when we test manually, it is easy to spot if something behaves incorrectly: we have an intuition for how it should behave. It is also slightly more fun to test than looking at something like logs from a financial system.
The user controls the player square using the arrow keys. The objective of the game is to get the box (labeled 2 in figure 1.5) to the lower-right corner. Although the colors don’t appear in the printed book, the game elements are different colors as follows:
- The red square is the player.
- Brown squares are boxes.
- Blue squares are stones.
- Yellow squares are keys or locks—we fix this later.
- Greenish squares are called flux.
- Gray squares are walls.
- White squares are air (empty).
If a box or stone is not supported by anything, it falls. The player can push one stone or box at a time, provided it is not obstructed or falling. The path between the box and the lower-right corner is initially obstructed by a lock, so the player has to get a key to remove it. Flux can be “eaten” (removed) by the player by stepping on it.
It is possible to change the level in the code, so feel free to have fun creating your own maps by updating the array in the map variable (for an example, see the appendix):
- Open the folder in Visual Studio Code.
- Select Terminal and then New Terminal.
- Run the command tsc -w.
- TypeScript is now compiling your changes in the background, and you can close the terminal.
- Every time you make a change, wait for a moment while TypeScript compiles, and then refresh your browser.
This is the same procedure you’ll use when coding along with the examples in part 1. Before we get to that, though, we build a more detailed foundation of refactoring in the next chapter.
As I am a strong believer in practice, I have made another project, provided without a solution. You can use this project on rereading, if you want a challenge; or as exercises for students, if you are a teacher. This project is a 2D action game. Both codebases use the same style and structure, they have the same elements, and it takes the same steps to refactor them. Although this second codebase is slightly more advanced, carefully following the rules and refactoring patterns should yield the desired result. To get this project, use the same steps as described with the URL https:/ /github .com/thedrlambda/bomb-guy.
highlight, annotate, and bookmark
You can automatically highlight by performing the text selection while keeping the alt/ key pressed.
It is important to reiterate that the focus of this book is introducing refactoring. The focus is not on providing specific rules that you can apply to production code in all circumstances. The way to use the rules is to first learn their names and follow them. Once this is easy for you, learn the descriptions with their exceptions; finally, use this to build an understanding of the underlying code smell. This journey is illustrated in figure 1.6.

This also answers why we cannot make an automatic refactoring program. (We might be able to make a plugin to highlight possibly problematic areas in the code, based on the rules.) The purpose of the rules is to build understanding. In short: follow the rules until you know better.
Also note that because we focus only on learning refactoring, and we have a safe environment, we can get away without automated tests—but this probably is not true for real systems. We do so because it is much easier to learn automated testing and refactoring separately.
- Executing refactoring requires a combination of skills to know what to refactor, culture to know when to refactor, and tools to know how to refactor.
- Conventionally, code smells are used to describe what to refactor. These are difficult for junior programmers to internalize because they are fuzzy. This book provides concrete rules to replace code smells while learning. The rules have three levels of abstraction: very concrete names, descriptions that add nuance in the form of exceptions, and, finally, the intention of the smells they are derived from.
- I believe that automated testing and refactoring can be learned separately to further lower the barrier to entry. Instead of automated testing, we utilize the compiler, version control, and manual testing.
- The workflow of refactoring is connected with test-driven development in the red-green-refactor loop. But this again implies a dependency on automated testing. Instead, I suggest using a six-step workflow (explore, specify, implement, test, refactor, deliver) for new code or doing refactoring right before changing code.
- Throughout part 1 of this book, we use Visual Studio Code, TypeScript, and Git to transform the source code of a 2D puzzle game.